Document
The Document style window lets you change the fonts and line spacing used in your Mosaic document view window.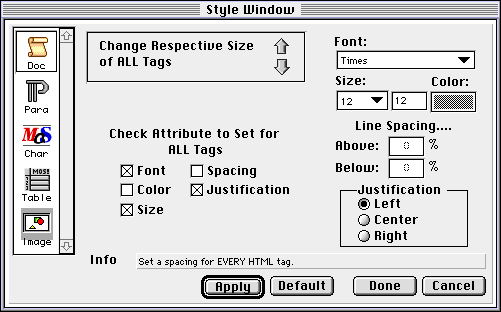
The box in the upper left of the main portion of this dialog box is labeled Change Respective Size of All Tags, and it includes two arrows pointing up and down. Click on either arrow and all tags change size relative to the other tags. As you click, watch the text in the document view window. Once you have the display to the size you like, click Apply. If you want to keep this size as your default, click Default. (If you don't click Default, NCSA Mosaic opens with the standard settings the next time you launch the application.) If you are finished, click Done. To cancel any changes, click Cancel.
By checking one or more of the boxes in the bottom left corner of the main part of this dialog box, you can change specific aspects of your window display for every HTML tag. Each attribute checked activates one or more of the fields to the right side of the dialog box. For example, check Font to select a new font. The Font field to the top right becomes active; select a new font from among the options.
Read the helpful information provided in the Info field. The brief messages tell you how your changes will affect various HTML tags. If you do not want to change each HTML tag (which is primarily what is done in this dialog box) go to the Paragraph and Character dialog boxes instead. Highlight either Para or Char in the left column (see below).
When you are done, click Apply to make the changes in the main document view window. Click Default to save your changes as the default. Click Done when you are finished or Cancel to disregard any modifications made.
Various HTML paragraph styles are displayed in the HTML Style scroll box in the upper left corner of this dialog box. In the HTML Style scroll box select an HTML style to modify. If you select bullet list, for example, you can modify the style information, the spacing (above and below) as well as the font, size, and color. Check the Info field for helpful tips and information as you proceed. For example, if you are changing the line spacing for a bullet list, the Info field tells you that the space is changed after a bullet, not before. Experiment by clicking on the Apply button until you have a presentation you like. When you are done with your modifications, click Default to save the changes to your next session. Click Done when you are through, or click Cancel to disregard your changes. Select an HTML character style by opening and highlighting using the HTML Style scroll menu. Modify the presentation by checking the boxes within the style and spacing boxes and by selecting from among the font, size, and color options. Experiment by clicking on the Apply button until you have a presentation you like. When you are done with your modifications, click Default to save the changes to your next session. Click Done when you are through, or click Cancel to disregard your changes. Select an HTML table style from the options presented in the HTML Style scroll menu. Modify the presentation by checking the boxes within the style and spacing boxes and by selecting from among the font, size, and color options. Experiment by clicking on the Apply button until you have a presentation you like. When you are done with your modifications, click Default to save the changes to your next session. Click Done when you are through, or click Cancel to disregard your changes. For example, an image and alternative text is included in a file with the HTML tag: NOTE: Text can be downloaded only when the author of an HTML file includes text for each image. If there is no text, only the default image icon is displayed. Including text with an image is becoming more common but it is still not the norm for most HTML documents.Paragraph
In the Paragraph Style Window you can make modifications to the presentation of paragraphs and specific styles of words.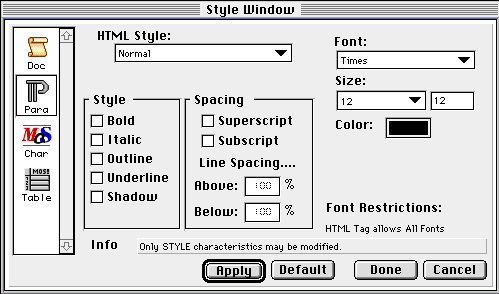
Character
Make changes to various character presentations with this part of the Style Window. 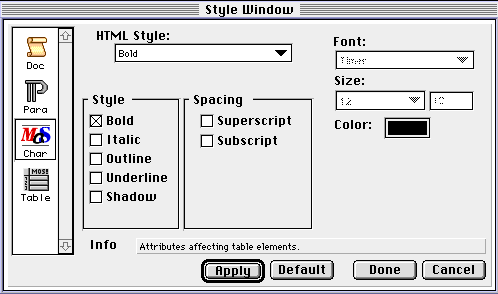
Table
Make modifications to the presentation of tables using the options in this dialog box.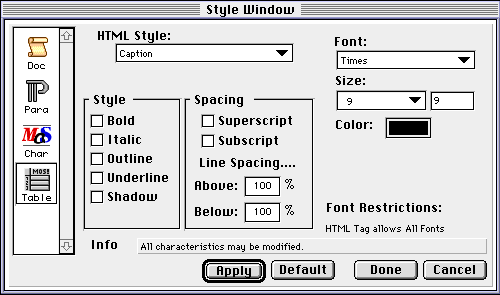
Image
You have two options in this dialog box: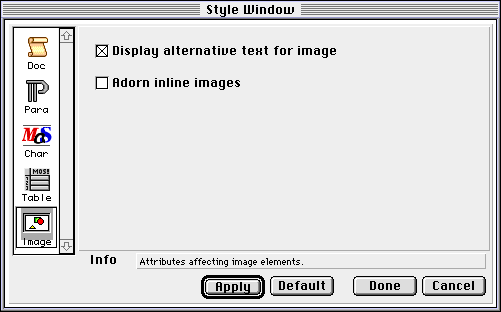
Alternative Text
Check the top box (Display alternative text for images) if you often work without automatically loading images with text files. With this box checked, text is displayed online for each image rather than the image itself. <img src="CompResLogo.gif" alt="NCSA Computational Resources">
If images are not automatically loaded and the display alternative text for image box is checked, the text NCSA Computational Resources is shown online rather than the image. 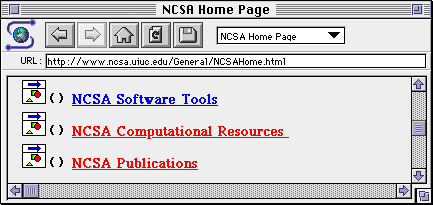
Adorn Inline Images
Check this box if you want a small shadow around your images. Experiment and select the option your prefer.


mosaic-m@ncsa.uiuc.edu